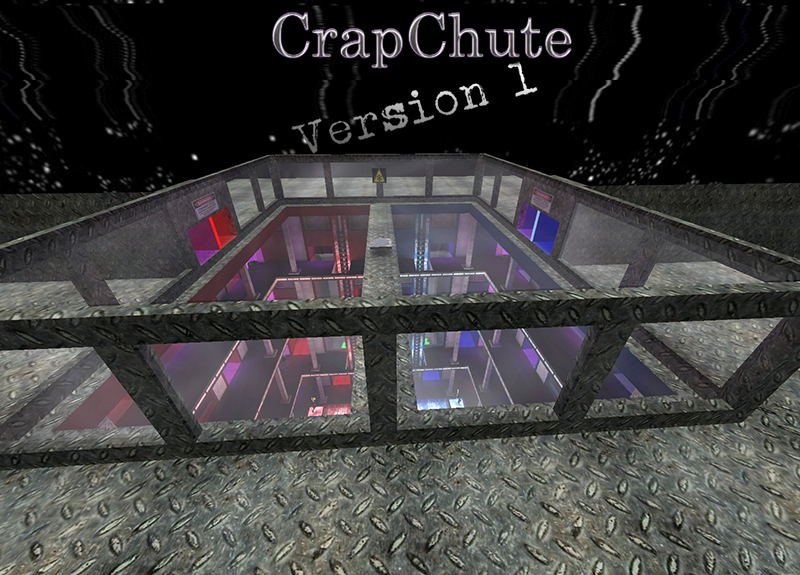
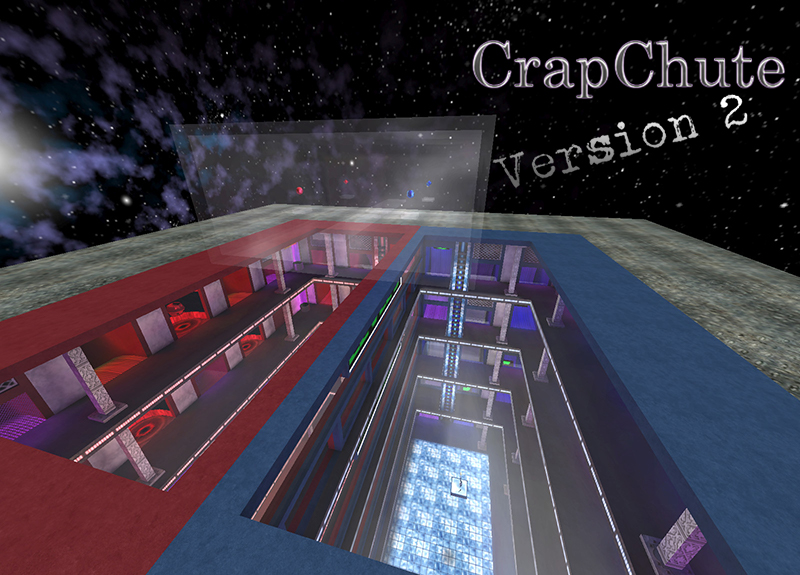
CrapChute Versions 1 & 2
Gametypes Supported:
FFA, LMS, TDM, TS, CAH, CTF, Bomb, FT, GunGameNumber Of Players:
Single: 30, Team: 28 (14/team)Latest live Versions: ut4_crapchute1_c1 ut4_crapchute2_c1
NOTE: CrapChute 1 is the original map I made, the ONLY alterations (done Feb 2019) are brush clean-up, texture refinements, shader optimizations and corrections, texture alignments, trigger_location additions for more accurate location reporting, and other bits of optimization and visual improvements (subjective, of course). CrapChute 2 is my 1 year mapping anniversary revisit. I began doing a clean-up of the original version, and realized I was not pleased with too many things, so I rebuilt it nearly from scratch. A second revisit in Feb 2019 resulted in my new naming scheme for CrapChute, simply calling them CrapChute 1, and CrapChute 2. More below!
CrapChute was my first map. I began playing around with NetRadiant on Sept 9, 2010. I built a few cylinders in a room, and some stairs, and then a trigger push, just to see how they all worked. Then I added a ladder, and... Shoots and Ladders came to mind. As I began work, I was dealing with wall hackers galore at that time, so I smiled, and said, "Fuck it, glass walls, glass floors, glass chutes. Hack away, jackasses!"
I made TONS of mistakes. But, as time passed, I learned from every one of them. Looking back now, 7 years+ later, it is fun to appreciate the excitement of reaching my one year anniversary as a mapper. And realizng how much I STILL need to learn. The mistakes I STILL find myself committing. My first map would then become my sixth map. What are the differences?
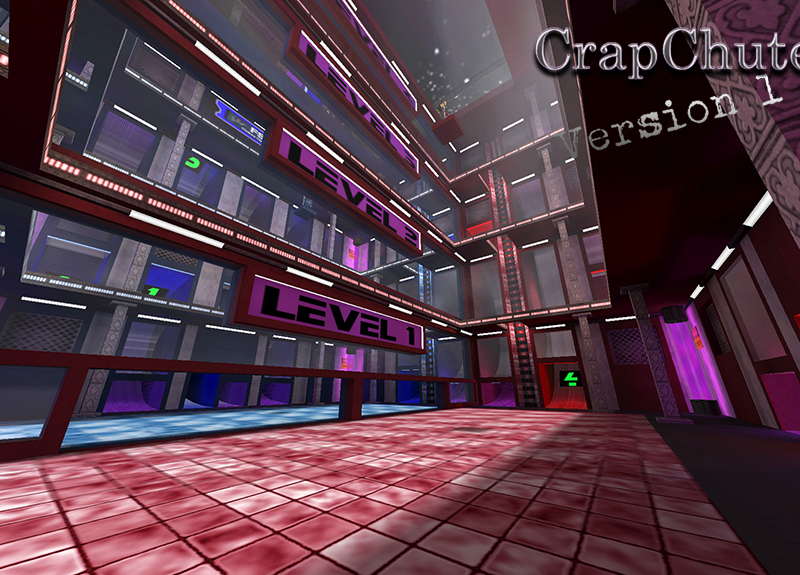
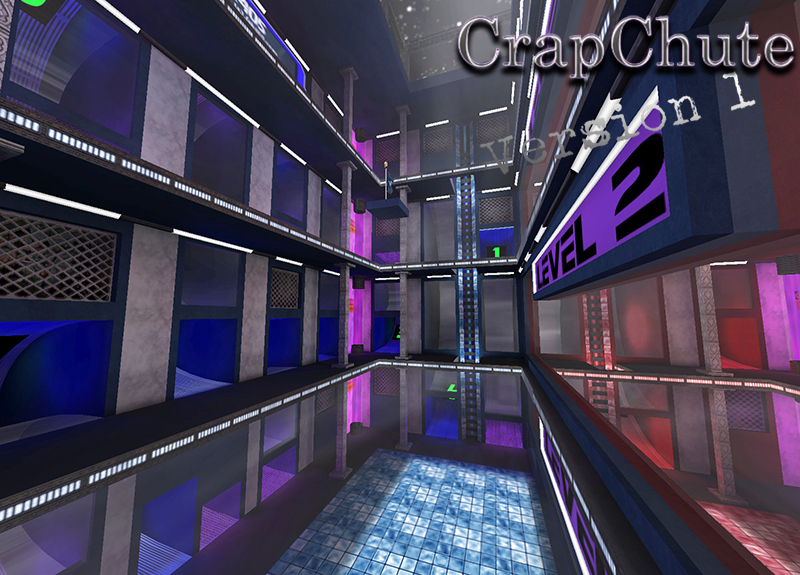
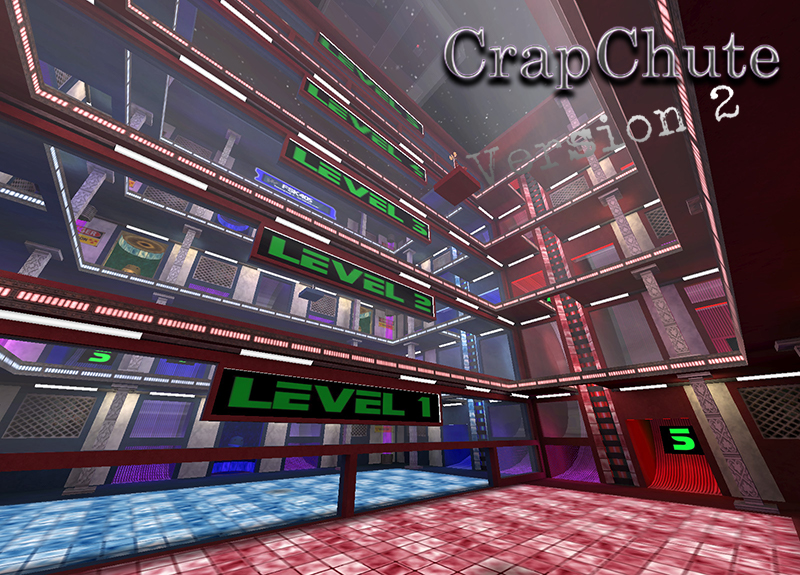
CrapChute 1, the original, has 4 floors, and an "Environmentally Unsafe Room" at the very top, nearly entirely made of glass. Have fun slowly freezing to death. The map is a cuboid shape, with an additional, smaller cuboid affixed on top. There are Chutes that either push a player to a higher Floor, or allow the player to not only access a lower floor, but to utilize "gravity" (crouch, hold, slide) to afford acceleration. Additionally, there are 4 Ladders, 2 per side, located on the East and West walls of both North and South, providing access to ALL 4 floors.Textures are all safe landing (No Damage), but Quake 3 does present some issues with edges of brushes at times, causing damage despite every face of said brush being designated as No Damage. The main cuboid is split horizontally (equitorially) to provide Blue (South) and Red (North) sides. The two Sides are separated by a divider made predominantly of (clear) glass. To travel from one Side to the other, one must visit the 1st or 4th floors, or utilize the Freeze Room up top, accessible via the North and South face Chutes. For CTF, spawns are on the 2nd floors, and flags are on the 3rd floors (colored cube markers identify flag spots), all color appropriate. From the 2nd Floor, Chutes to reach the 1st, 3rd, and 4th floors are available. Travel to the 4th floor via one of the 3 available Chutes, and one can then access the other color's side. Holding crouch while in the Chute, and continuing to hold coruch as one slides across the 4th floor, and navigating by arcing as one passes beneath the glass divider, fast and easy access to the opposing color's 4th floor to 3rd floor chute is accomplished. Grab the flag, and use either of the two Chutes to the 1st floor, holding crouch as you begin dropping, and then navigate as you slide under the divider on the 1st floor, and use the Chute taking you to the 4th Floor. Conitnue holding coruch as you do this, and you might even slide all the way to the opposite side's ladder, allowing you to simply drop one floor to your own flag area (3rd floor), and, being out of breath, limp to one of the fastest caps afforded on this map. Lots of combos possible! Oh... the Freeze Room? Try the * warning signs. Secret teleports... Enjoy!
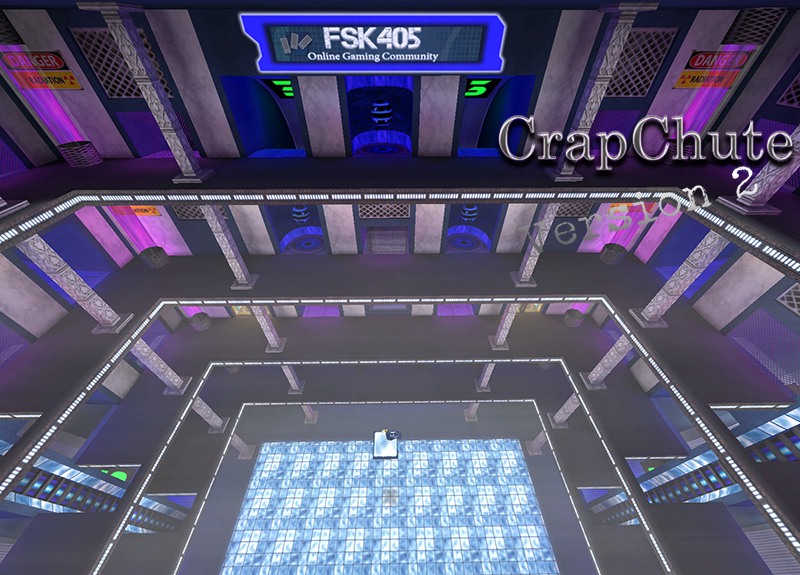
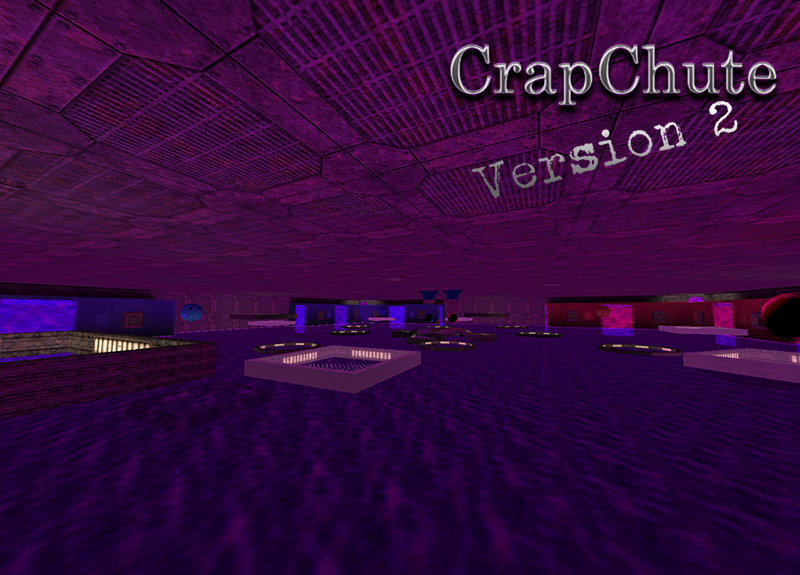
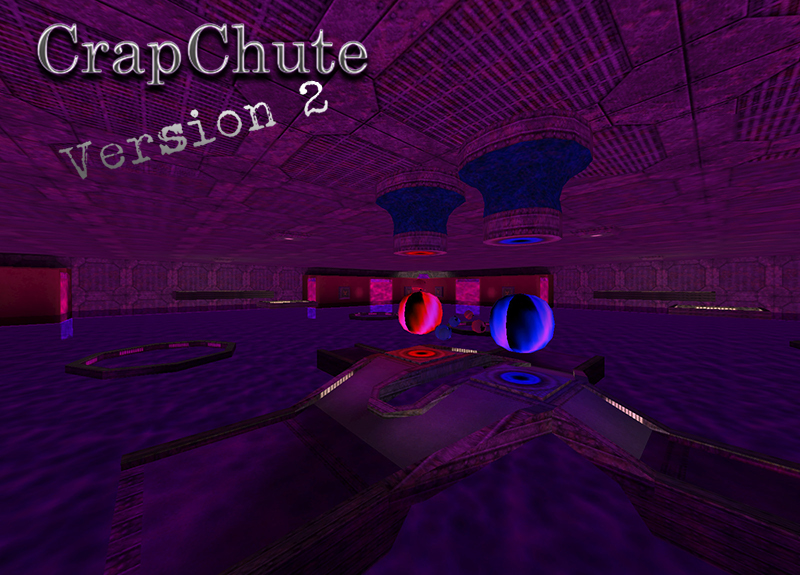
CrapChute 2 is my 1 year anniversary rebuild, with a revision of much of the original. The first version had floors that varied in size. Version 2's floors are all the same height. A 5th floor was added, making transition from South to North and vice-versa via floors 1 and 5 now. The 4th floors provide teleports to the 3rd floor for the same color; Blue 4th teleports to Blue 3rd, etc. Rather than the Freeze Room, I replaced the Chute entries with teleports. The teleports are mirrored on the 5th floor. Using a 1st or 5th floor large orb teleport sends you to the oppsite color's 1st or 5th floor. Use 5th Floor Red teleport, get spit out facing 1st Floor Blue, and vice-versa. Rather than the Freeze Room itself, I created a Coma Room (all glass, separate, above the main cuboid). Puff-Puff, Coma. There are two ways to get there; the first way is via the tiny orbs above the large orbs in the 1st Floor teleports. How to get up high enough for those tiny orbs is your problem... good luck! The second way is via the other addition to this 2nd version: The Plasma room. Inspired by those infamous early platformer video games, I made it 3d. At the center of this room is a platform that has large orbs that teleport to the color specified 3rd floors, and tiny orbs that teleport to the Coma Room. Additionally, there are 4 more large orbs in each corner, hovering above platforms that move vertically, between fully up, and fully submerged in the (deadly) Plasma. How to get there? Ah, this is the fun part! You will hear an air horn every so many seconds, followed by the his of hydraulics. The air horn announces the impending opening or closing of doors on the 3rd floor of each side. There are 2 door guarded teleports on eahc of the 3rd floor sides. When open, large gold orbs provide teleports to the Plasma Room. Each of these four teleports send the player to a corresponding platform close to the rear center of the North, South, East, and West walls. Once a player touches said platform, it will begin to sink into the plasma. In front of you are two platforms; one will be submerged, the other safely above the plasma. As one descends, the other rises. From there, hexagonal platforms circle; the first ring going counter-clockwise, the inner ring proceedding clockwise. Leap from one of the two platforms to the outer ring platform, and then either to the inner ring, or opt to jump to a corner large orb to teleport to the 4th floor of that color (which you then can use to access the teleport on that 4th floor to continue to the 3rd floor of that color). The inner ring of hexagonal platforms provide a close jump to the center platform, stationary and alwways above the plasma, where you now have teleports as described earlier. Oh... I almost forgot... that plasma? It is always rising and falling. At its full height, it will cover those hexagonal platforms. The two up-down platforms... one always remains above the plasma, no matter the level. Just keep hopping until the plasma recedes enough to use those hexagonal platforms again! And, of course, beware of people following you. Or entering via other teleports. And beware that following someone more thna second or two after they go through... well, that teleport destination platform might be, ummm, submerged by then... ooops...
In my opinion, CrapChute is a great indication of my mapping style, and headspace. Of my now 40+ maps, very, very few are even remotely close to being "Urban Terror typical". I hope someone enjoys these!